
How to Turn a Photo into a Perler Bead Pattern (6 Steps)
A complete walkthrough for converting photos into perler bead patterns: picking the right photo, grid sizing, controlling color count, mapping to real bead colors, and exporting a ready-to-buy color list.
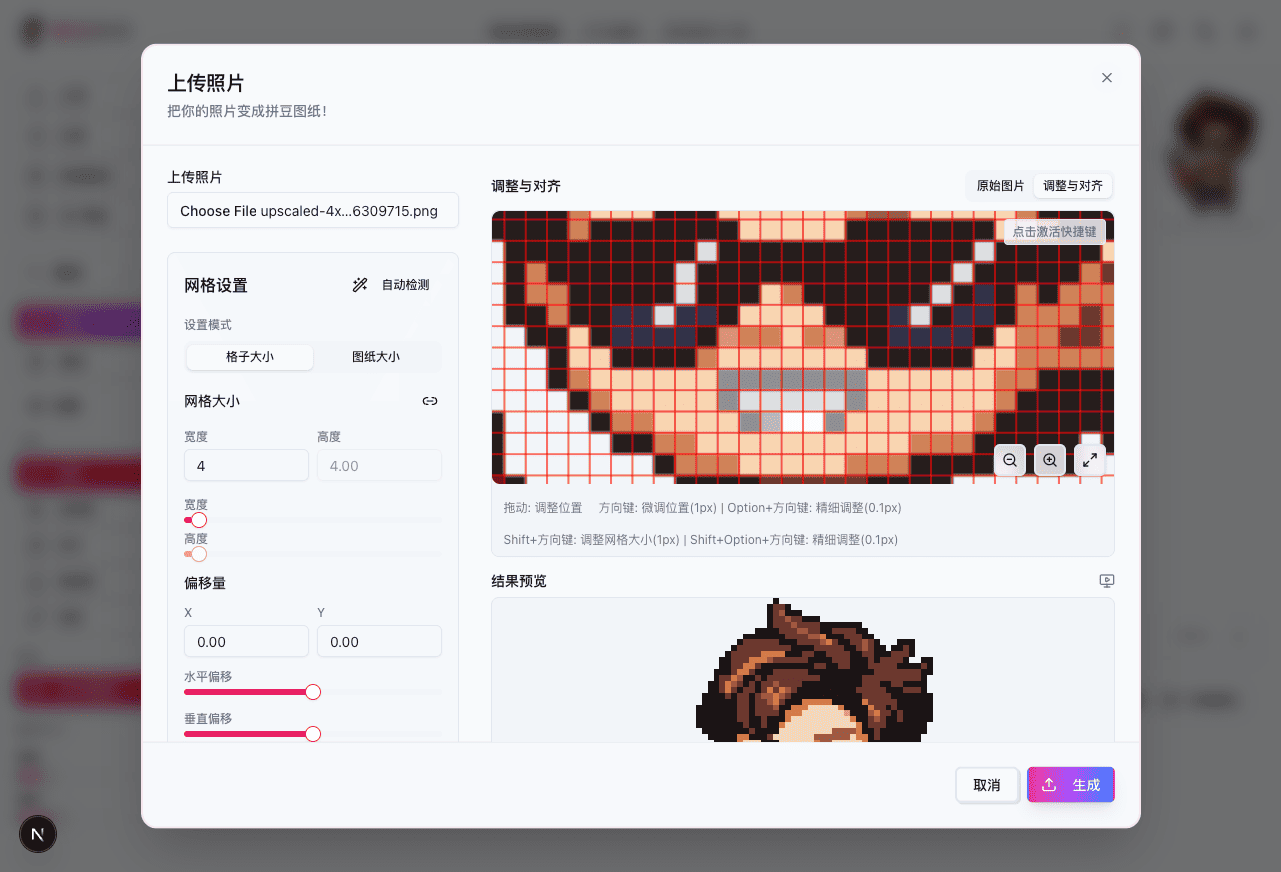
Turning a photo into a buildable bead pattern comes down to three things: picking the size, controlling the colors, and mapping to real bead shades. This tutorial walks the full pipeline in six steps — no design background needed.
Pick a photo that converts well
Clear subject, clean background, strong color contrast. For portraits, choose a front-facing shot with the face filling the frame.
Upload it in the pattern editor
Open the editor, upload the image, and the tool maps it onto a bead grid automatically.
Choose the grid size
Size decides the physical build and how much detail survives. Small charms start around 30×30; wall pieces go beyond 100×100.
Control the color count
Fewer colors means cheaper shopping and easier assembly. Start with 20–40 colors; the tool merges near-identical shades into the closest real bead color.
Clean up by hand
Use the brush and eraser to remove noise pixels, focusing on eyes, outlines, and any area that carries the expression.
Export and start beading
Export the pattern with grid lines and color codes, buy beads against the list, then follow the assembly view row by row.
Open the editor and try it now
Upload an image → auto-generate a bead pattern → tweak and export, free
Step 1: What photos convert well
Squeezing a photo into a small grid always loses information, so start with subjects that survive the loss:
- Cartoon characters and game sprites — already built from color blocks, nearly lossless
- Logos, icons, silhouettes — crisp outlines, few colors
- Pet portraits and chibi faces — work well from 60×60 up
- Landscapes and group photos — crop to a single subject first, or details melt together
If you want AI to redraw the photo in pixel style before conversion, use AI image to pattern — it handles lighting and faces far better than direct compression.
Step 2: Upload and auto-convert
Open the pattern editor, upload the image, and the tool handles grid division and color extraction. At this point you have the photo’s colors — they haven’t been mapped to real beads yet.
Step 3: Grid size = finished size
Standard fuse beads are about 5mm in diameter, so the grid directly determines the physical build:
| Finished piece | Suggested grid | Approx. size |
|---|---|---|
| Keychain / magnet | 20–40 | 4–8 in |
| Coaster | 40–60 | 8–12 in |
| Small wall art | 60–90 | 12–18 in |
| Large wall piece | 100+ | 20 in and up |
When in doubt, start at 58×58 — a common square-board size that also splits cleanly across multiple boards.
Step 4: Control the color count
Color count is the trade-off between shopping cost and fidelity. Rule of thumb: cartoons 15–25, pet photos 30–50, landscapes 50+. The editor maps to a 290+ shade real bead palette, so lowering the count merges similar shades automatically — you’ll never see a color you can’t actually buy.
Step 5: Clean up by hand
Automatic conversion gets you 80% there; the last 20% decides whether it looks great:
- Eyes: protect the highlight pixel even if it costs a color — blurry eyes ruin the whole piece
- Outlines: clear stray colors where subject meets background for an instantly cleaner look
- Lonely pixels: single-bead islands are miserable to iron — merge them into neighbors
Step 6: Export and buy beads
Export with grid lines and color codes and the pattern doubles as your shopping list. For large builds, the gallery makes a good reference for finished results, and assembly mode walks you through row by row so nobody counts squares by hand.
FAQ
Convert your first photo
Free, no sign-up required, export ready to build

