Perler Beads for Kids: Ages, Safety & First Projects
A parent and teacher guide to fuse beads: age-by-age safety rules, how to pick a first project, running a classroom session, and turning kids' drawings into bead patterns.

Fuse beads are a rare craft that trainshand-eye coordination, color recognition and focus at once, with cheap materials and near-zero cost of failure. They come with two non-negotiables, though:beads are a small-parts item, and the iron is an adult’s tool. This guide covers how to play, age by age, for parents and teachers alike.
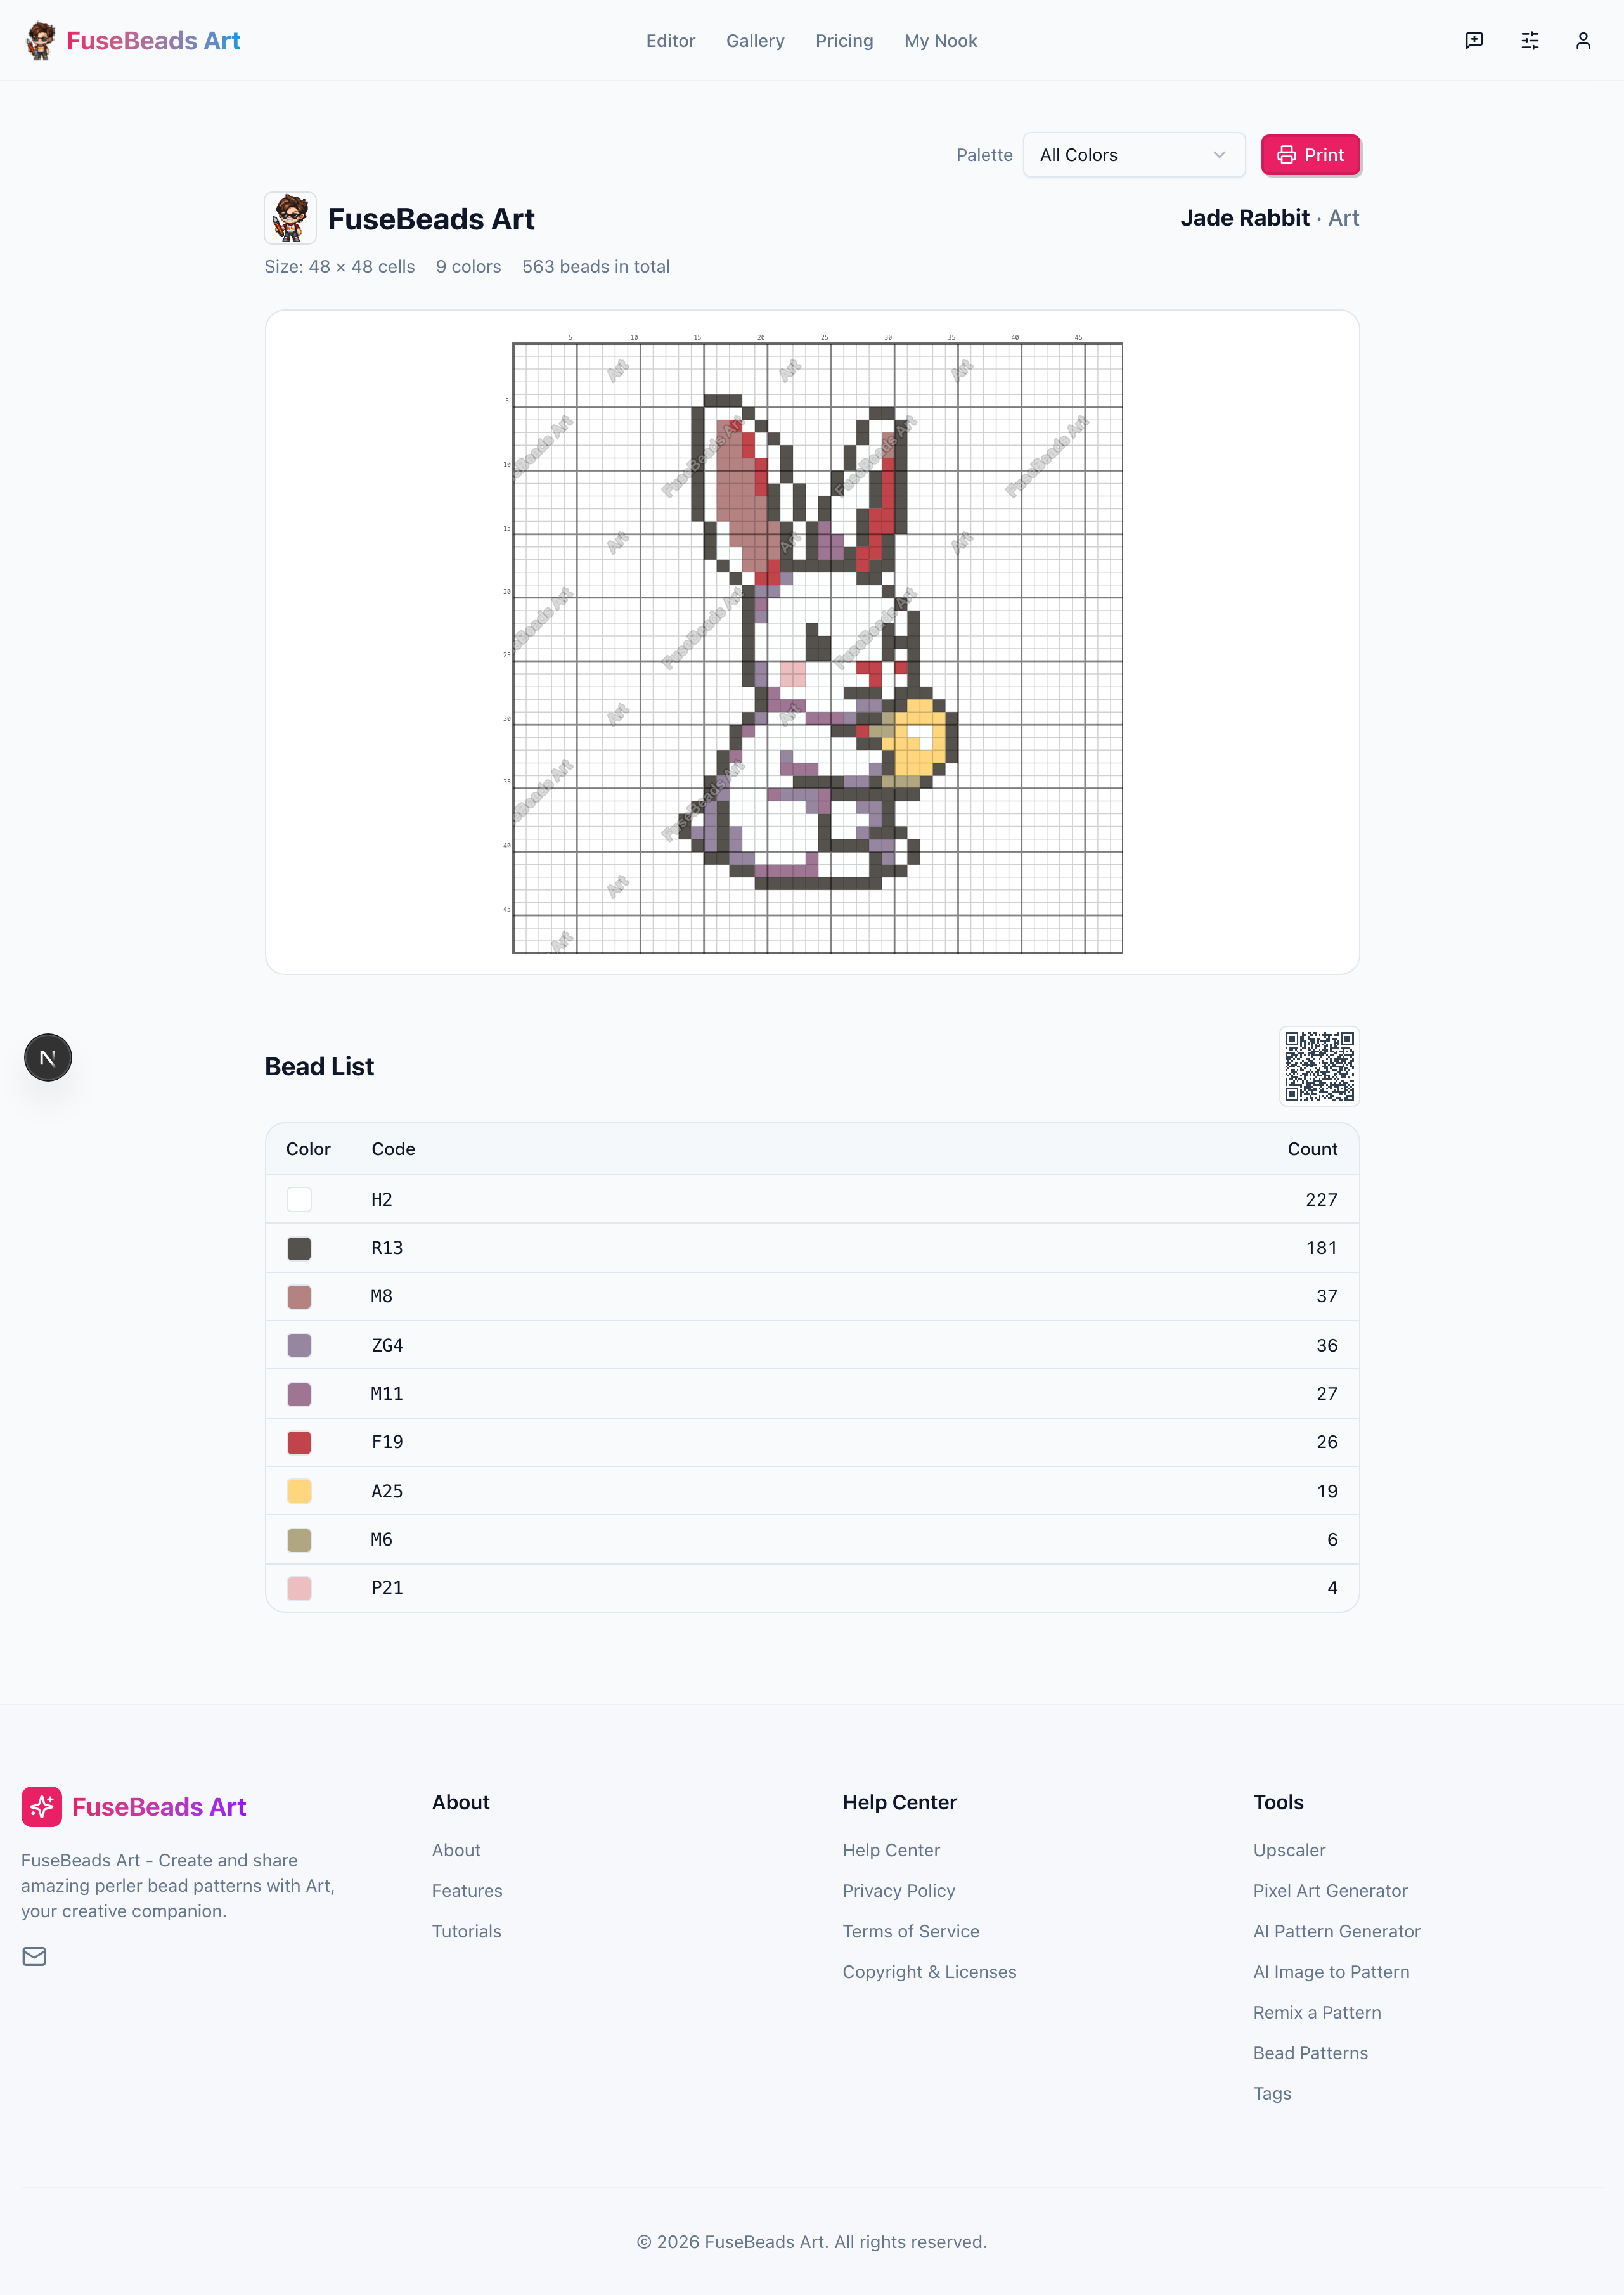
Pick a simple design under 20×20
Big, blocky motifs — a heart, a star, a rainbow — are the ideal start: few cells, few colors, finishable in one session. Early wins keep kids motivated.
Sort beads by color
Give each color its own compartment with just a small handful. Fewer loose beads mean better focus and no heartbreak over spills.
Bead bottom-up, row by row
Teach your child to follow the pattern one row at a time, standing each bead upright on its peg. Younger kids can place the outline first, then fill the middle.
Adults handle the ironing
The iron is always an adult's job: medium heat, steam off, ironing paper, slow circles, then cool under a flat weight. Kids can time it and watch.
Display the result
Once cooled, turn the piece into a fridge magnet, frame it or string it up. Visible finished work is the single biggest motivator for the next project.
Turn your child's drawing into a pattern
Upload a photo or doodle and get a bead pattern with a full color list
Ages & Safety Ground Rules
The short version: no beads under 3, and the iron never touches a child’s hand. The rest scales like this:
| Age | How to play | Watch for |
|---|---|---|
| 3–5 | Bead large designs (under 20×20) with an adult alongside | Constant supervision, choking hazard; beads stay out of mouths |
| 6–8 | Bead independently; adult irons | Tweezers for fine-motor practice; keep the play area contained |
| 9+ | Design, bead and pick palettes on their own | Introduce the editor to draw patterns; ironing still adult-only |
Two rules to repeat until boring: beads never go in mouths or noses, and the iron belongs to adults. Counting everything back into storage after each session doubles as tidy-up practice and a safety sweep.
Choosing the First Project
The first project has one goal: done within an hour, worth showing off. That means big color blocks and minimal detail. Four proven starting points:
- Heart — one solid color plus a highlight; the ideal “first ever” piece and a natural gift
- Star — a five-point outline that teaches symmetry in two colors
- Rainbow — banded rows, zero frustration, a natural color-recognition lesson
- Duckling — a round body with just two details (beak, feet); one notch harder than the heart

Keep it under 20×20 and three colors. Move to 30×30+ when the child asks for something harder — they will.
Running a Parent-Child or Classroom Session
One child is improvised; a group needs process. Three techniques that carry a session:
- Sorted trays: one compartment tray per child, colors never mixed — less squabbling, no dead time hunting for beads
- A pattern per child: printed or on a tablet; the rule is “check the pattern, then raise your hand”
- Ironing as a demonstration: collect all boards at the front and let the teacher iron while everyone watches the beads melt and fuse — usually the highlight of the class
Collaborative murals work well too: slice a large pattern into rows, assign a few rows per child, iron the whole thing at the end, and hang it in the classroom credited to everyone.
Turn Kids’ Drawings into Bead Patterns
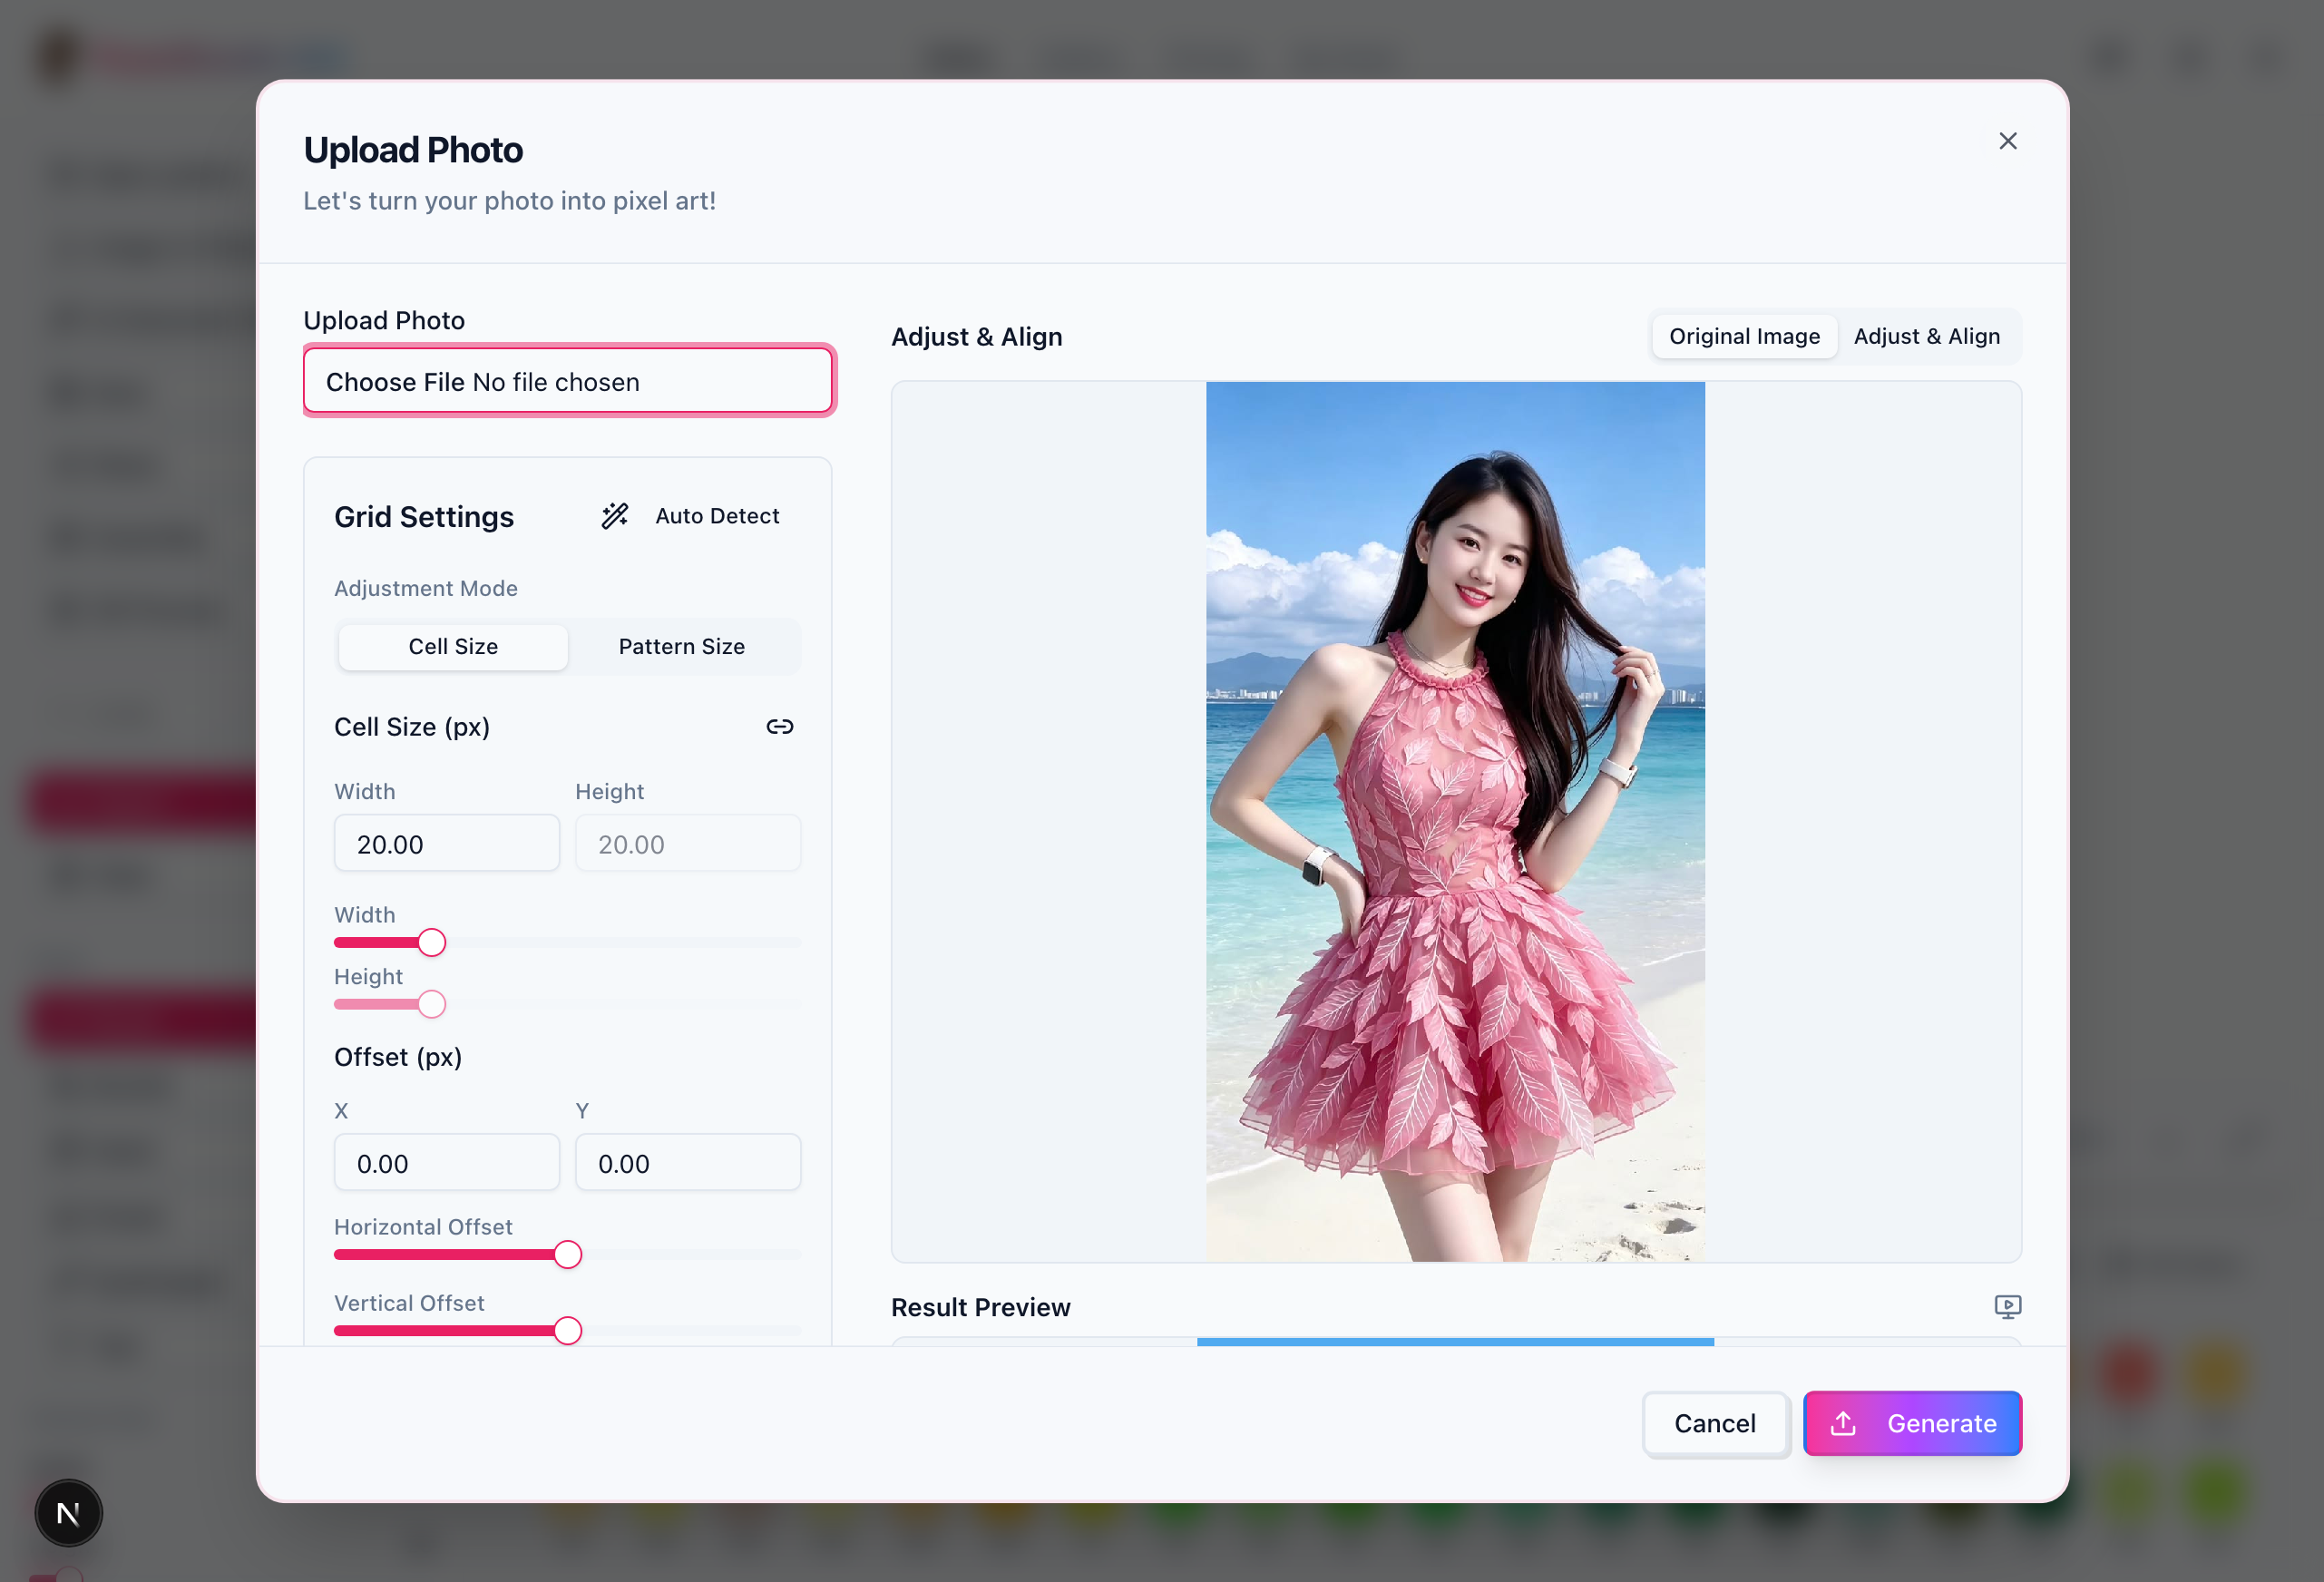
Photograph a child’s doodle and upload it to thepattern editor: it maps the image onto a bead grid, aligns colors to a real bead palette, and exports a pattern with a color list ready to shop from. Watching their own drawing become a physical piece on the wall is more motivating than another template — for kids and adults alike.
For the full photo-to-pattern flow (choosing images, sizing, controlling colors), see thephoto to perler bead pattern tutorial; for children’s drawings, keep the color count at 10 or below for the cleanest results.
After Beading: Ironing & Display
Adults iron following the standard process in theironing tutorial: medium heat, steam off, slow circles, flat cooldown. Don’t skip the display step — magnets, frames, hanging strings. A visible finished piece visibly lengthens the next session’s focus span.
FAQ
What age is right for fuse beads?
Standard beads are a small-parts item — not suitable under 3 due to choking risk. Ages 3–5 can bead large designs with an adult present, 6+ can bead independently, and ironing stays adult-only at every age. Oversized “big-kid” bead versions exist and are the safer pick for preschoolers.
What if my child misplaces beads?
Resist fixing it for them. Lift the misplaced beads with tweezers and let them spot it — the cost of an error is one bead, and “inspect your board” works better as a game than as a correction.
How do I run fuse beads for a whole class?
Three things: sort beads by color into individual trays (less fighting, less searching), print a pattern for every child (fewer questions), and make ironing a teacher demonstration — one controlled moment, and it's usually the highlight of the lesson. For a group mural, split the grid into rows and assign a few per child.
Find kid-friendly patterns in the gallery
Filter for small, low-color designs and save them in one click